Protect the Recovery Scene
Stop first, preserve the evidence, and recover second. Any write to the affected data directory or disk may overwrite the data that PDU could otherwise recover.
Scenario 1: The Database Cannot Start or Data Files Are Damaged
Scenario 2: Accidental DELETE or UPDATE
WAL Archiving Is Enabled
Preserve the existing archive directory and all archived WAL files that cover the incident period. Do not clean, overwrite, or move them back to the original database disk. If the database is still available, confirm that the WAL containing the accidental operation has reached the archive directory.
WAL Archiving Is Not Enabled
Query the Target Table and TOAST File Paths Directly
Connect to the database containing the target table and run the SQL below. Replace public and t_payment_records with the actual schema and table name. The result returns PGDATA, the main data file path, the TOAST OID, and the TOAST file path directly on screen.
Scenario 3: One or More Tables Were Dropped or Truncated
1. Identify PGDATA and Its Disk Device
Assume the PostgreSQL data directory is on /dev/sda. If you are unsure, first run SHOW data_directory; to obtain PGDATA, then use df -h <PGDATA> to identify the device containing that directory.
2. Upload and Extract PDU on Another Disk
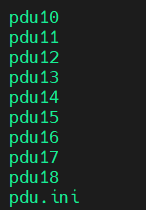
Upload the installer to a path that is not on /dev/sda, and extract it into a dedicated directory. Never place it on the PostgreSQL data disk, so the affected device receives no active writes. The extracted files are shown below.
3. Configure pdu.ini
Set PGDATA to the PostgreSQL data directory, DISK_PATH to the disk device to scan (for example, /dev/sda), and PGDATA_EXCLUDE to the PostgreSQL data directory.
4. Preserve the Disk Image
Image saving is enabled by default. Enter PDU and run ds idx; directly to start scanning the disk and preserving the page image.
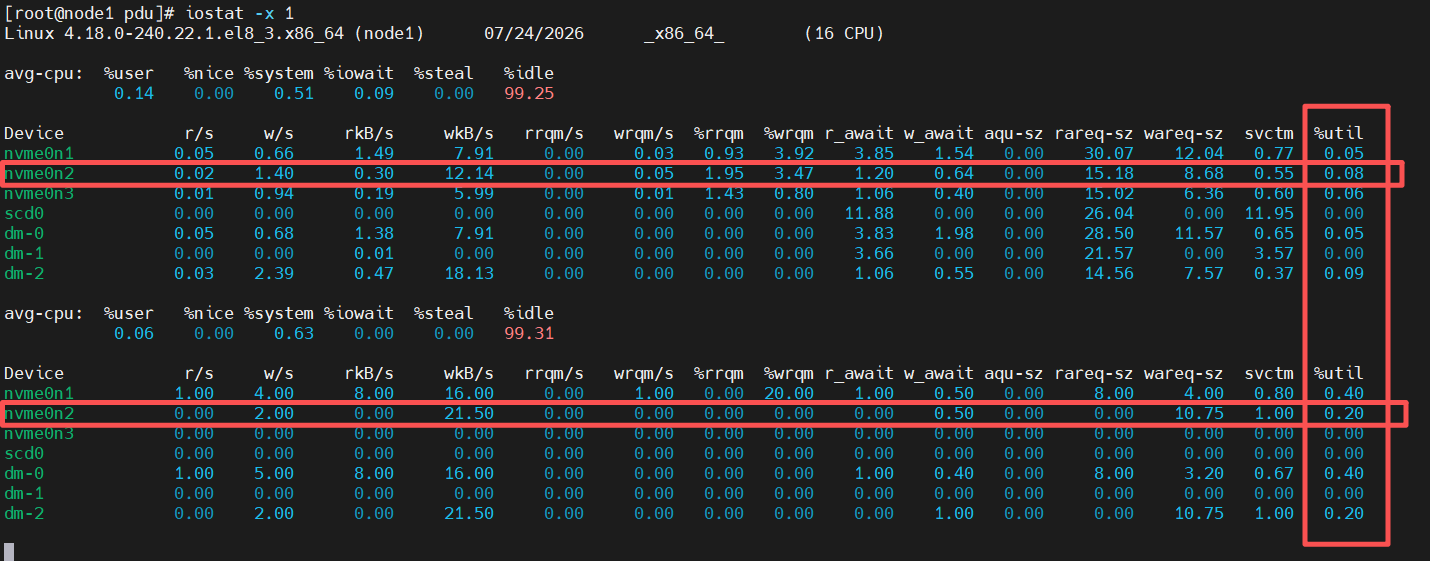
If the final %util column for the scanned device remains at 100% or above 90%, the disk has reached its I/O limit. When production applications are still using that disk, stop the PDU scan: press Ctrl+C first and confirm that %util drops. If the process remains, locate it with ps -ef | grep '[p]du' and terminate the correct PDU process.
After the scene has been safely preserved, continue with the DROP / TRUNCATE table recovery guide.